Process
Silk Screen Printing
Silk screen printing actually originated in China during the Song Dynasty around 1279 AD but it wasn’t until early in 1910 when printers began to experiment with the photographic chemicals.
I can’t go any further without mentioning the legend Andy Warhol and his iconic repeating images of Campbells soup and Marilyn Monroe in amazing colours.
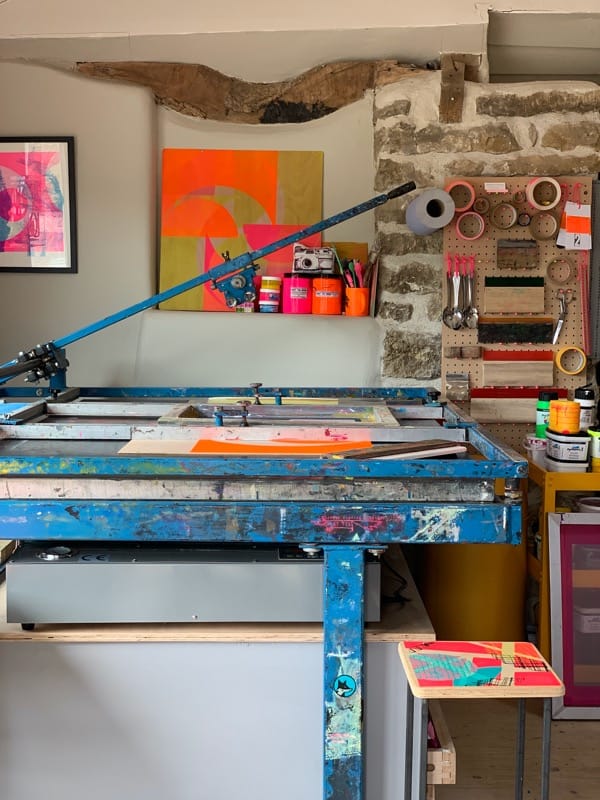
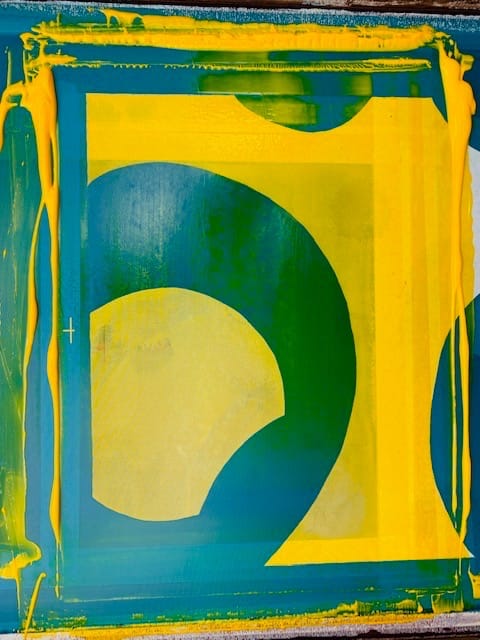
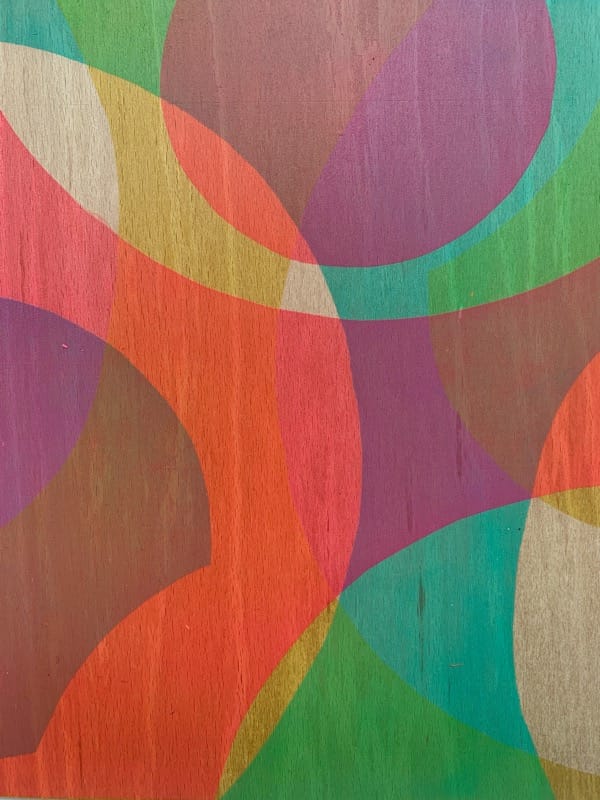
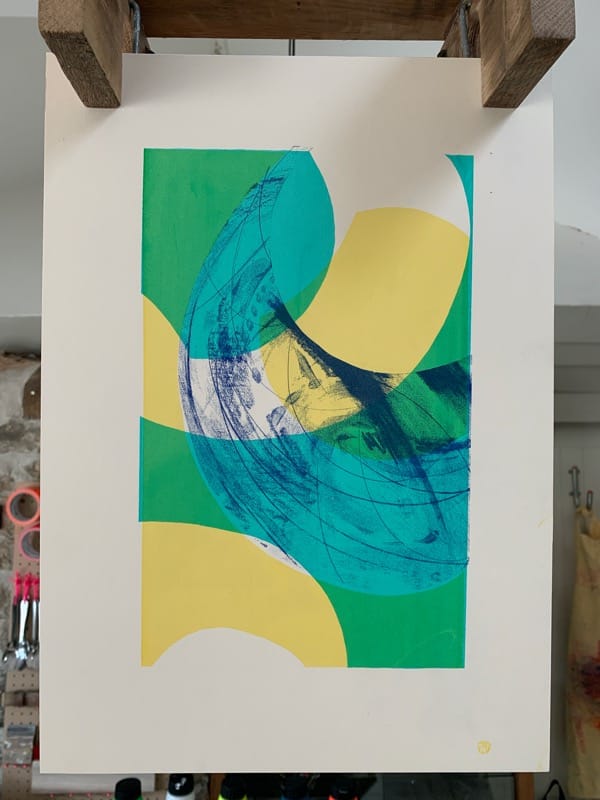
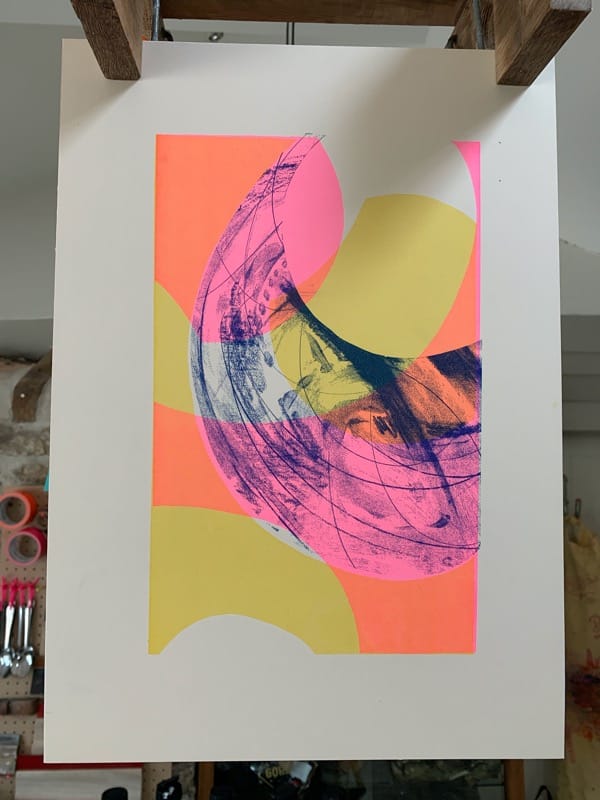
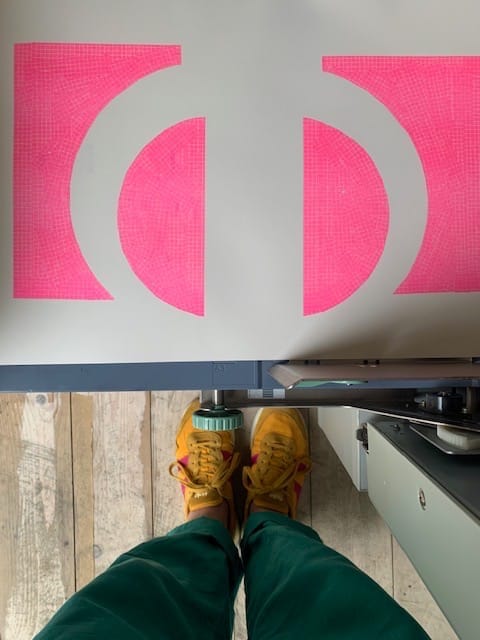
I absolutely love this process, so many variations of colour shape and overlays can be achieved with very few screens.
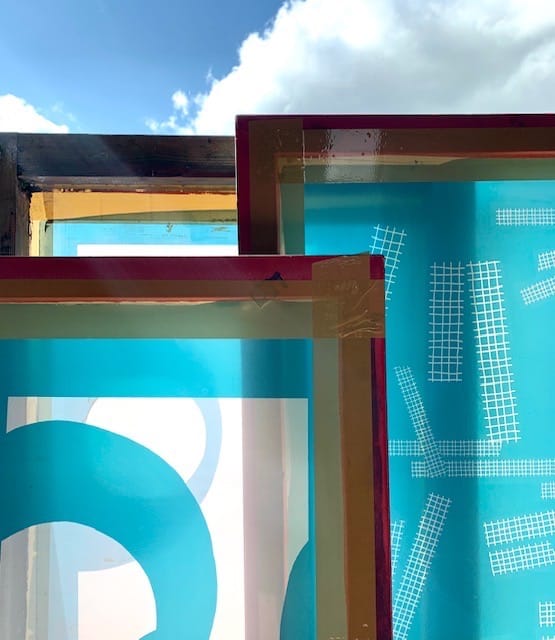
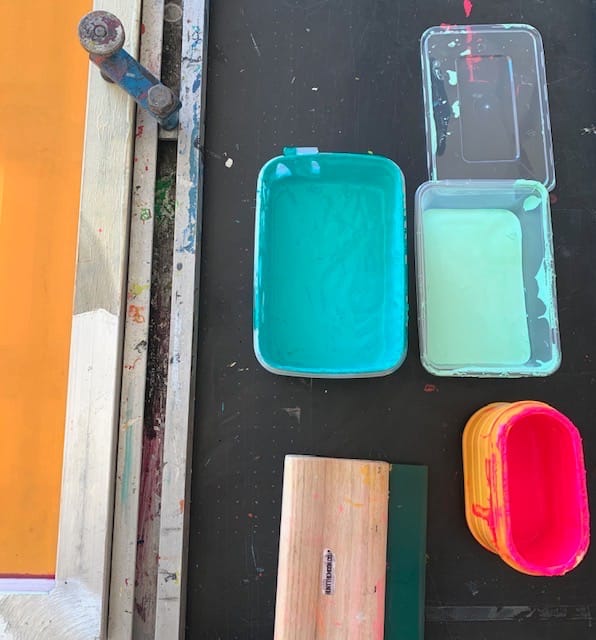
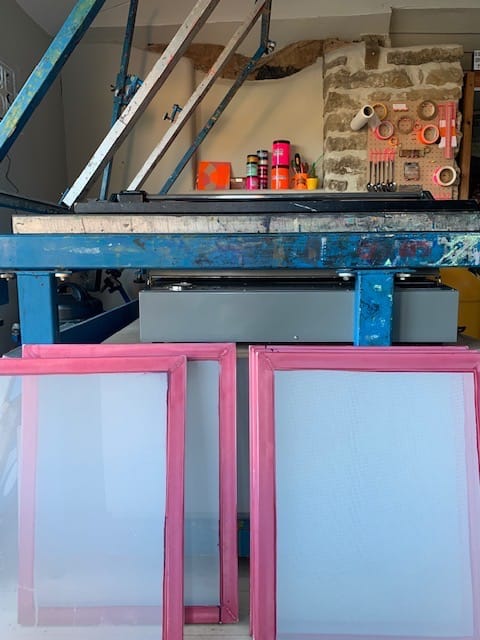
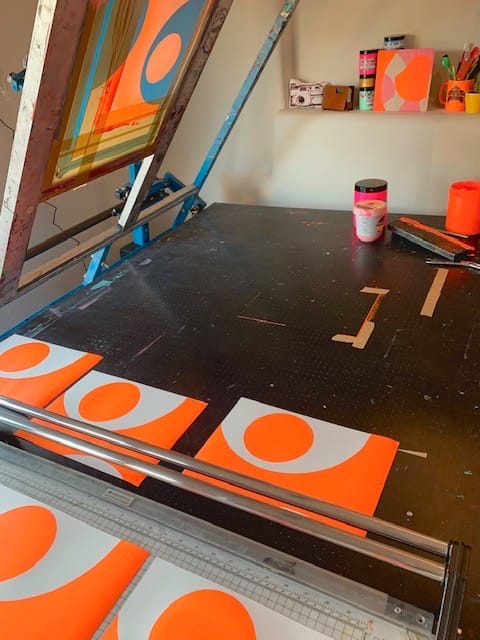
The process uses a silkscreen coated in photographic emulsion, the image is burned onto a screen with an image transparency placed on top of the emulsion. When exposed to a light source the emulsion is fixed. The screen is then washed to expose the image. The exposure of screens can be tricky, I am lucky to have a vacuum exposing unit which ensures that the transparencies are tight to the screen when exposed. A squeegee is used to move the ink across the screen in a thin layer. The fun begins. Once I have exposed a screen I usually keep the same design and explore the many colour and screen combinations before stripping the design and starting again.
Risograph Printing
Riso means “Ideal” in Japanese. Risograph printers were invented in Japan in the 1980’s.
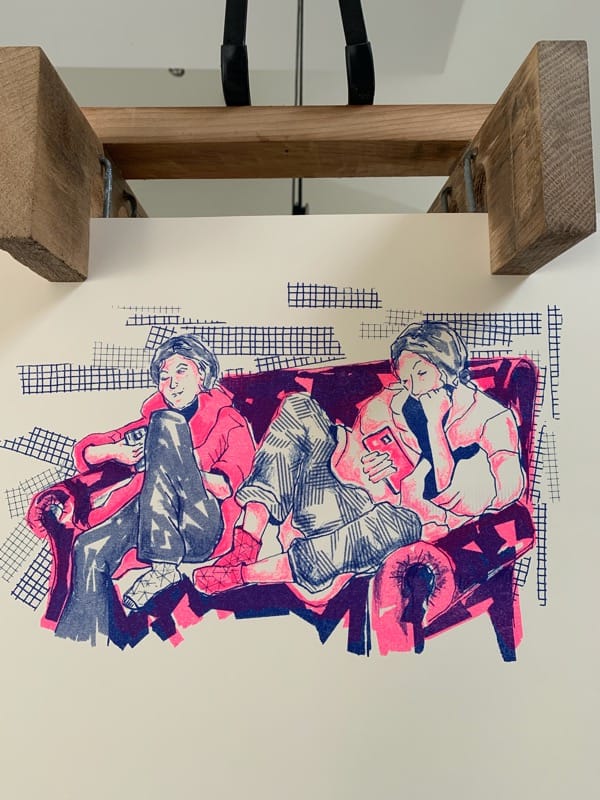
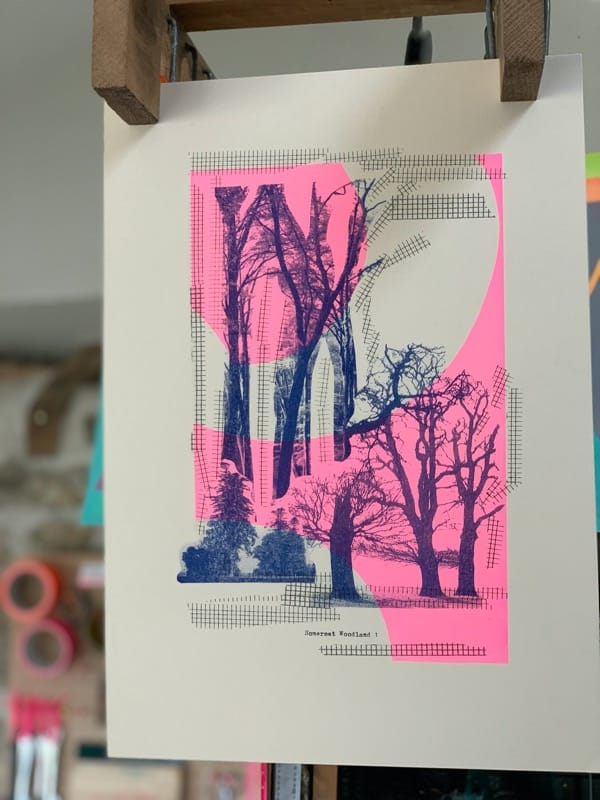
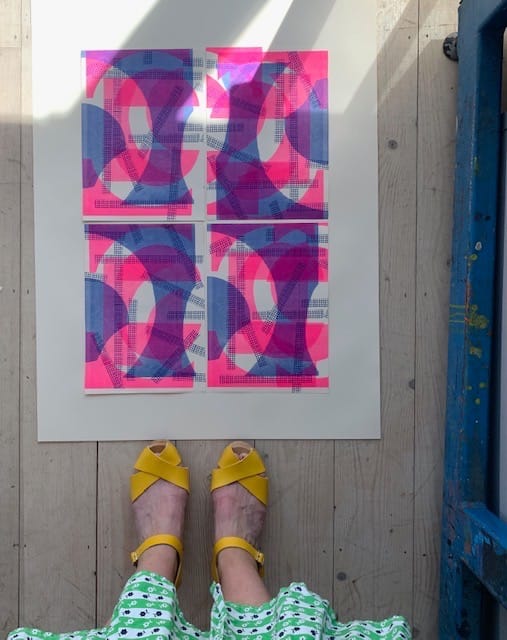
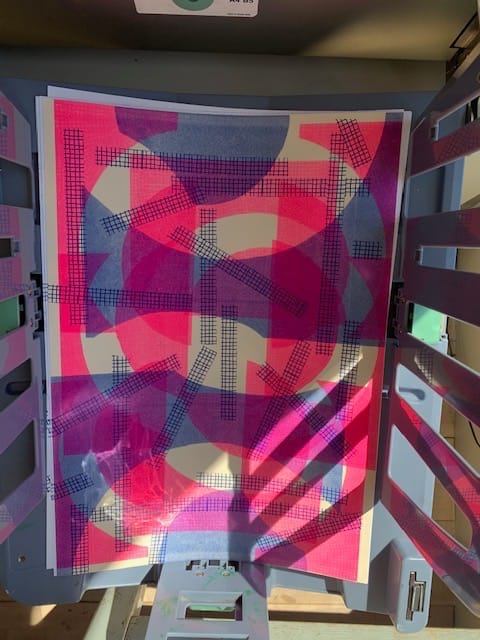
The appeal of Riosograph prints are in the imperfections which occur when printing. Riso can achieve similar aesthetics to a silk screen print in terms of colour separation as it uses a master stencil to create a print. New masters can be made and the enormous coloured ink cartridges changed to enable the paper to be fed through the machine again creating fabulous coloured overlays.
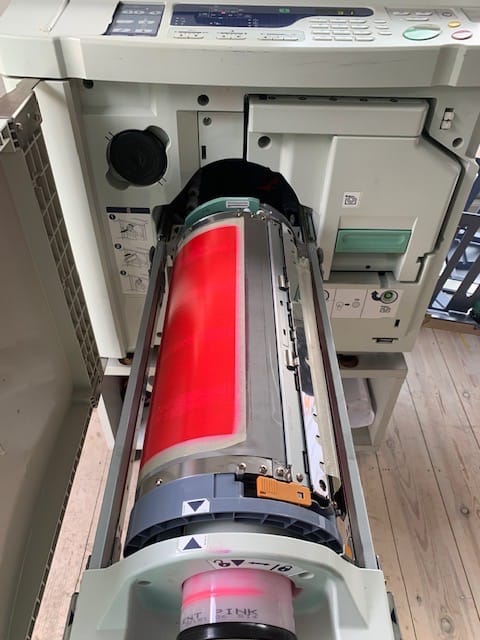
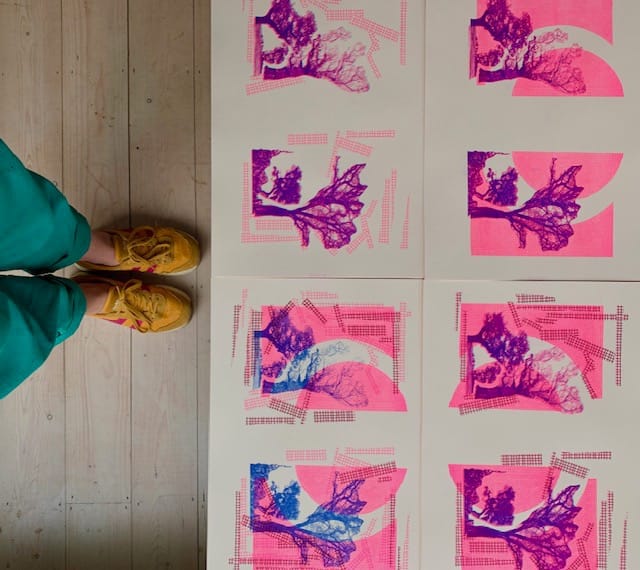
I have my own vintage Risograph printer that I have owned for a few years. I have slowly built up my colour drum selection and now have 5 colours.
The Risograph process is a stencil-based printing method that uses soy-based ink and a duplicator machine to produce vibrant, prints. Similar to screen printing, each colour is printed separately using a master stencil, allowing for bold coloured layers and unique misalignments. It’s popular for zines posters.